How to Pan-Sear Scallops: Get a Golden Crust Every Time
Imagine a dish that looks incredibly sophisticated, tastes divinely fresh, and yet can be prepared in minutes. That, dear reader, is the magic of perfectly seared scallops. Achieving that coveted golden-brown crust and a tender, buttery interior might seem like a chef's secret, but with a few essential techniques, you can master this restaurant-worthy delicacy right in your own kitchen. Our comprehensive guide will walk you through every step, ensuring your homemade seared scallops recipe delivers a flawless, irresistible experience every single time. Scallops are a true gift from the sea, offering a delicate, briny sweetness and a texture that melts in your mouth when cooked just right. They're versatile enough to anchor a special occasion meal, yet quick enough for an elegant weeknight dinner. The key to unlocking their full potential lies in the sear – a process that caramelizes their natural sugars, creating a delicious crust while preserving their succulent moisture.The Foundation: Selecting and Preparing Your Scallops
The journey to exceptional pan-seared scallops begins long before they hit the hot pan. Proper selection and preparation are paramount for that desirable golden crust.Choosing the Right Scallops
- Sea Scallops vs. Bay Scallops: For a true pan-sear with a substantial crust, opt for large sea scallops. Bay scallops are smaller and best suited for quick sautés or in dishes like pasta. The "10/20 count" mentioned in seafood markets indicates that 10 to 20 scallops of that size make up one pound – a good reference for large scallops ideal for searing.
- "Dry" vs. "Wet" Scallops: Whenever possible, seek out "dry" scallops. These are untreated and retain their natural flavor and texture. "Wet" scallops, on the other hand, have often been treated with sodium tripolyphosphate (STP) to preserve them. This causes them to absorb water, making them heavier but also making it incredibly difficult to achieve a good sear because of the excess moisture they release during cooking. Ask your fishmonger for "dry-packed" or "chemical-free" scallops.
Cleaning and Drying: The Golden Rule
Once you have your beautiful sea scallops, a small but crucial step is often overlooked: cleaning the side muscle.Look for a small, crescent-shaped tab attached to the side of each scallop. This muscle is noticeably tougher than the rest of the scallop. While harmless, it can become rubbery and unpleasant when cooked, detracting from the otherwise tender bite. Simply pinch and pull it off with your fingers; it should detach easily.
Now for the absolute most critical step in achieving that perfect golden crust: drying your scallops. Any moisture on the surface of the scallop will turn into steam when it hits the hot pan, effectively steaming your scallops instead of searing them. This prevents the Maillard reaction (the chemical process responsible for browning and flavor development) from occurring.
- Pat each scallop thoroughly dry with paper towels. Don't be shy; press firmly to absorb as much surface moisture as possible.
- For an even better result, especially if you have "wet" scallops or are preparing them ahead of time, place the dried scallops on a wire rack set over a baking sheet in the refrigerator for 15-30 minutes. This allows air circulation to further dry their exterior.
This step is so vital, it deserves emphasis: Seared Scallops: Dry Scallops and Hot Pan for Best Results. Seriously, don't skip it!
The Art of the Sear: Tools and Technique
With perfectly prepared scallops, we now turn our attention to the environment in which they'll cook.Choosing Your Pan and Oil
The Pan: Forget your nonstick pans for this task. Nonstick coatings are generally not designed for the high heat required for searing, and they actually inhibit the formation of a beautiful crust. Your best friends here are a heavy-bottomed stainless steel frying pan or a well-seasoned cast-iron skillet. Both retain heat exceptionally well, ensuring a consistent high temperature that is essential for a great sear.
The Oil: When searing at high temperatures, you need an oil with a high smoke point. Oils like vegetable, canola, grapeseed, or avocado oil are excellent choices. Their neutral flavor also allows the scallop's natural taste to shine. Reserve extra virgin olive oil, with its lower smoke point and delicate aromatics, for a finishing drizzle after cooking.
Mastering the Heat
This is where many home cooks falter. Your pan needs to be HOT. Place your chosen pan over medium-high to high heat. Add a tablespoon or two of your high smoke point oil. Wait for the oil to shimmer, and you might see slight wisps of smoke – that's your cue. The pan needs to be hot enough to immediately start caramelizing the scallop upon contact.
Step-by-Step Guide to Perfectly Seared Scallops
Now that we understand the principles, let's put it all together into an actionable seared scallops recipe.Ingredients (for 2 servings):
- 12 large sea scallops, tough side muscles removed and thoroughly dried
- Sea salt and freshly ground black pepper, to taste
- 1-2 tablespoons high smoke point oil (vegetable, canola, grapeseed, or avocado)
- 1 teaspoon unsalted butter (optional, for finishing)
- 1 teaspoon fresh lemon zest (for garnish)
- ½ lemon, juiced (for seasoning and finishing)
- Fresh herbs like basil or parsley, chopped (for garnish, optional)
The Searing Process:
- Season One Side: Once your scallops are completely dry, season one side generously with sea salt and freshly ground black pepper. A light squeeze of lemon juice on this side also adds a touch of brightness.
- Heat the Pan: Place your stainless steel or cast iron skillet over medium-high to high heat. Add the high smoke point oil and let it heat until shimmering and almost smoking. This might take 2-4 minutes.
- Sear the First Side: Carefully place the seasoned scallops, seasoned-side down, into the hot pan. Make sure not to overcrowd the pan; cook in batches if necessary. Overcrowding will drop the pan's temperature and lead to steaming instead of searing.
- Do NOT Move Them: This is crucial for developing that beautiful crust. Once the scallops are in the pan, resist the urge to peek or move them for the first 2-3 minutes. The crust needs time to form and fully release from the pan.
- Season and Flip: After 2-3 minutes, the scallops should have developed a gorgeous golden-brown crust and will release easily from the pan. Season the uncooked side with more salt, pepper, and a touch of lemon juice. Flip them over.
- Finish Cooking: Immediately after flipping, you can add 1 teaspoon of butter to the pan. The butter will melt and foam, helping to baste the scallops and add a rich, nutty flavor. Continue cooking for another 1-2 minutes, depending on the thickness of your scallops, until they are opaque through the center but still tender. Overcooking will make them rubbery.
- Remove Promptly: As soon as the scallops are cooked through, remove them from the pan immediately to prevent them from overcooking.
For more in-depth guidance on achieving perfection, be sure to read our article: Unlock the Secret to Perfectly Seared Scallops at Home.
Finishing Touches and Serving Suggestions
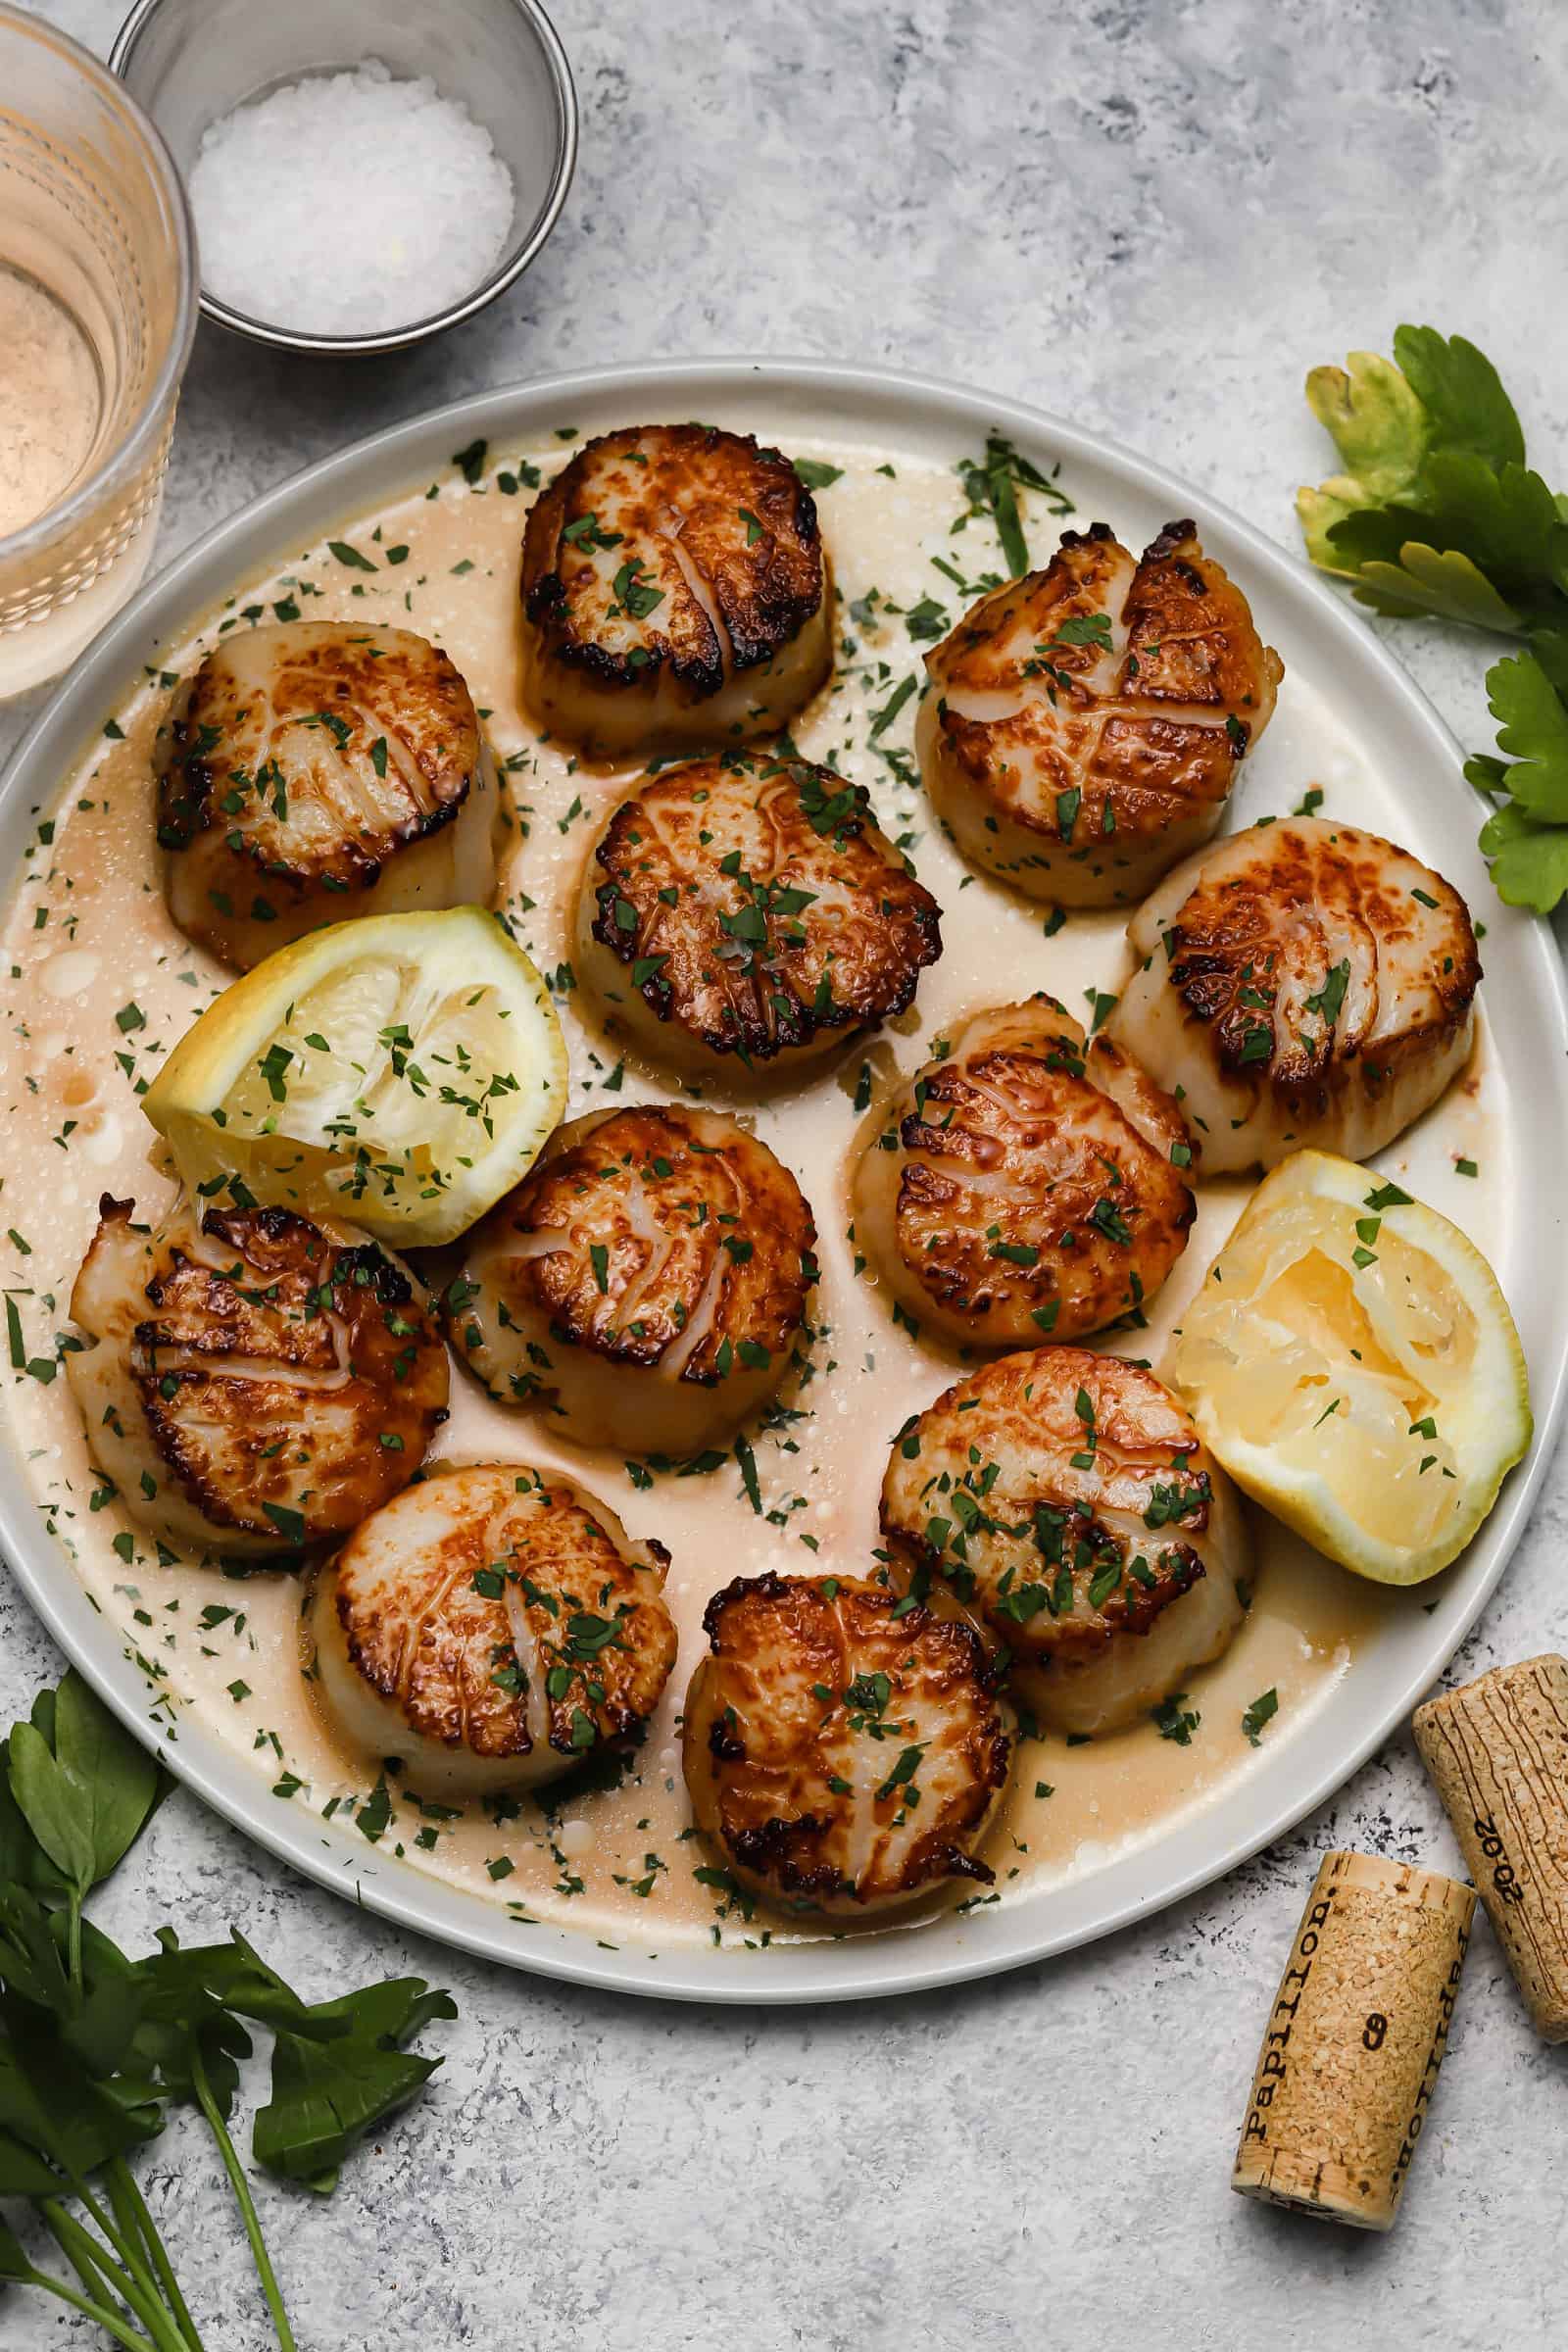
Your perfectly seared scallops are now ready! A simple garnish is all they need to shine.Drizzle with a little extra fresh lemon juice or, for a more complex flavor, a touch of good quality balsamic glaze. A sprinkle of fresh lemon zest and chopped herbs like basil, parsley, or chives will add vibrant color and aroma.
Serve these exquisite scallops immediately alongside your favorite side dishes. They pair beautifully with:
- Creamy risotto (lemon-parmesan or asparagus risotto)
- Garlic mashed potatoes or roasted baby potatoes
- Simple green salad with a vinaigrette
- Steamed asparagus, green beans, or broccolini
- Light pasta dishes with olive oil and garlic
